
Appearance
AdminInvite & manage users
Everyone with access to the tenant — administrators, reviewers, and end users — lives in the same Users table. Roles decide what each account can do.
See who's in your tenant
Open Users → Users for a list of every account, with role and status.
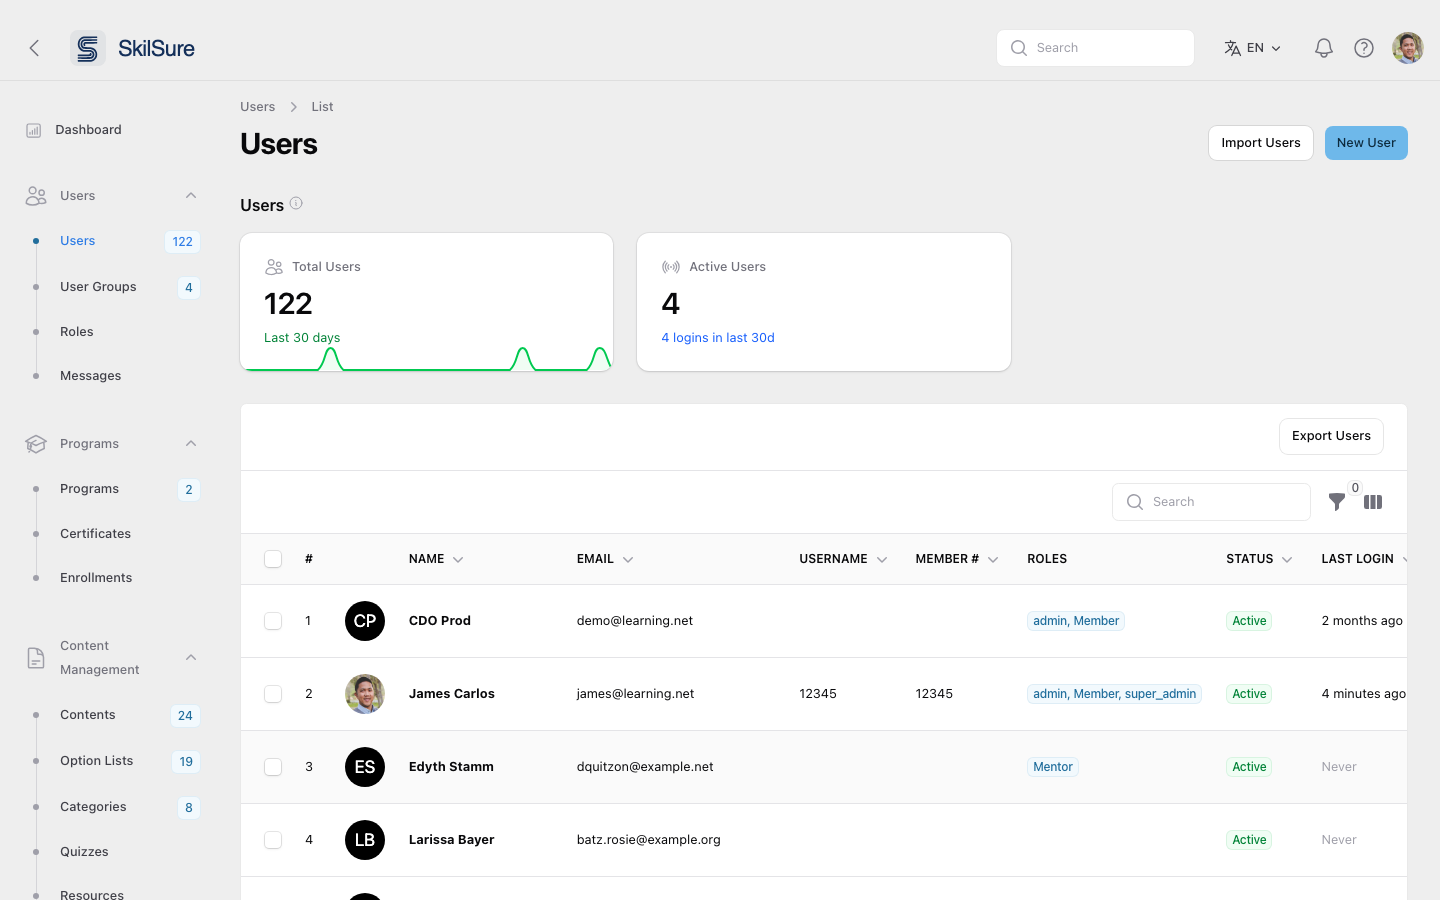 The Users list. Filter by role, status, or group to narrow it down.
Add a new user
Click New User in the top-right of the Users list.
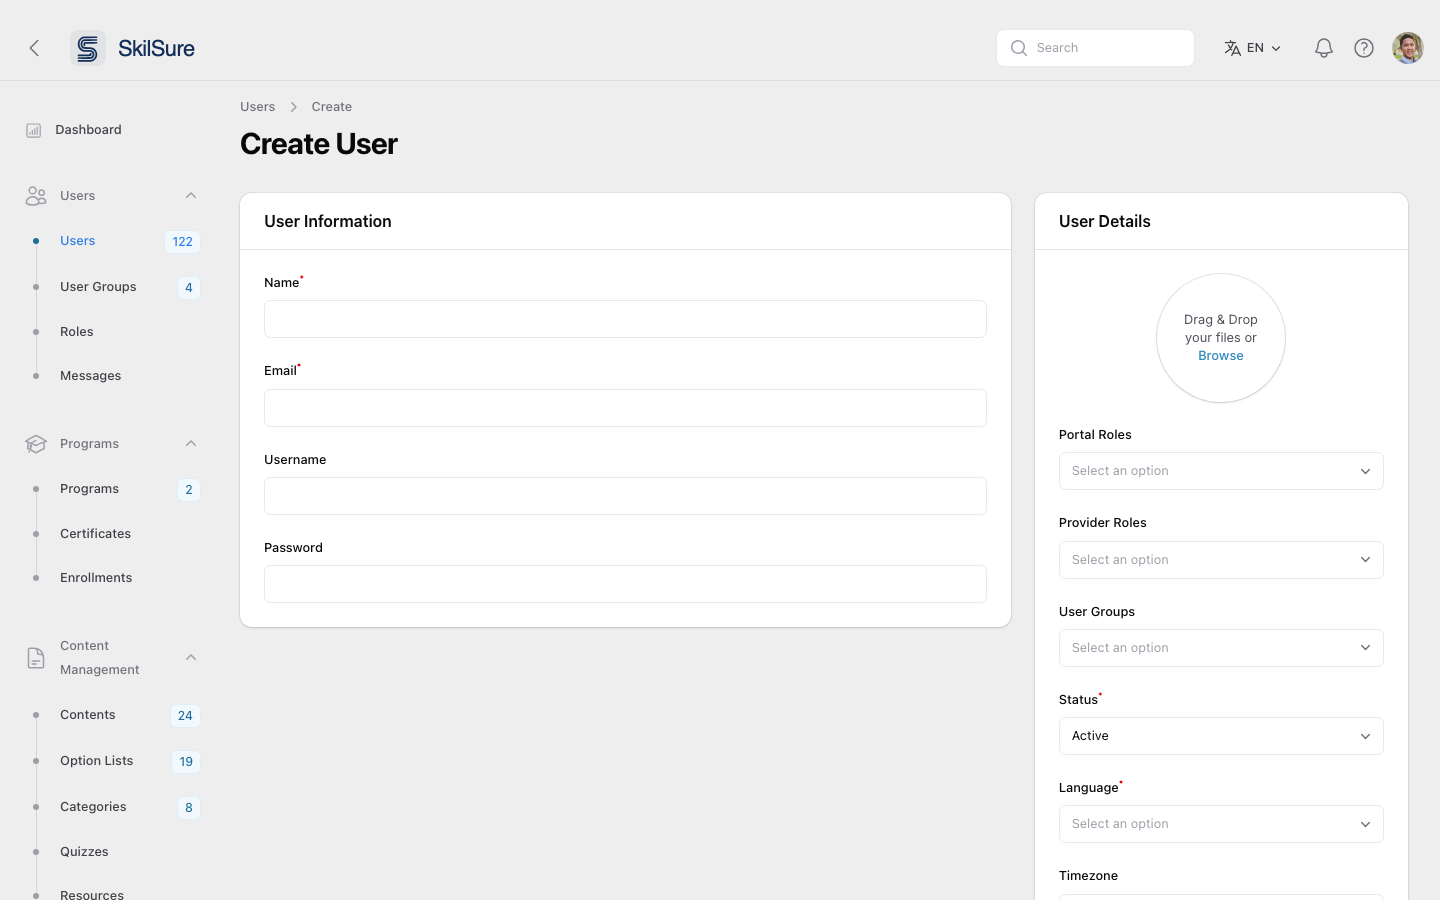 New user form. Choose the role and the portals they should have access to.
- Click New User.
- Enter name and email.
- Assign one or more roles (e.g. Member, Reviewer, Administrator).
- Attach the user to one or more portals.
- Save. The user receives an invitation email with a sign-in link.
User Groups
Bundle users for bulk enrollment and reporting. Create groups under Users → User Groups.
To make someone a reviewer for another user's program, see Assign a reviewer.
Shared email addresses
By default each user needs a unique email. If your tenant has Login with Username turned on, more than one user can share the same email address (for spouses or family members who share an inbox) — but each must have a unique username, which becomes required on the form. Without that setting, a duplicate email is rejected.
Import users from a CSV
To add or update many users at once, use Import Users at the top-right of the Users list.
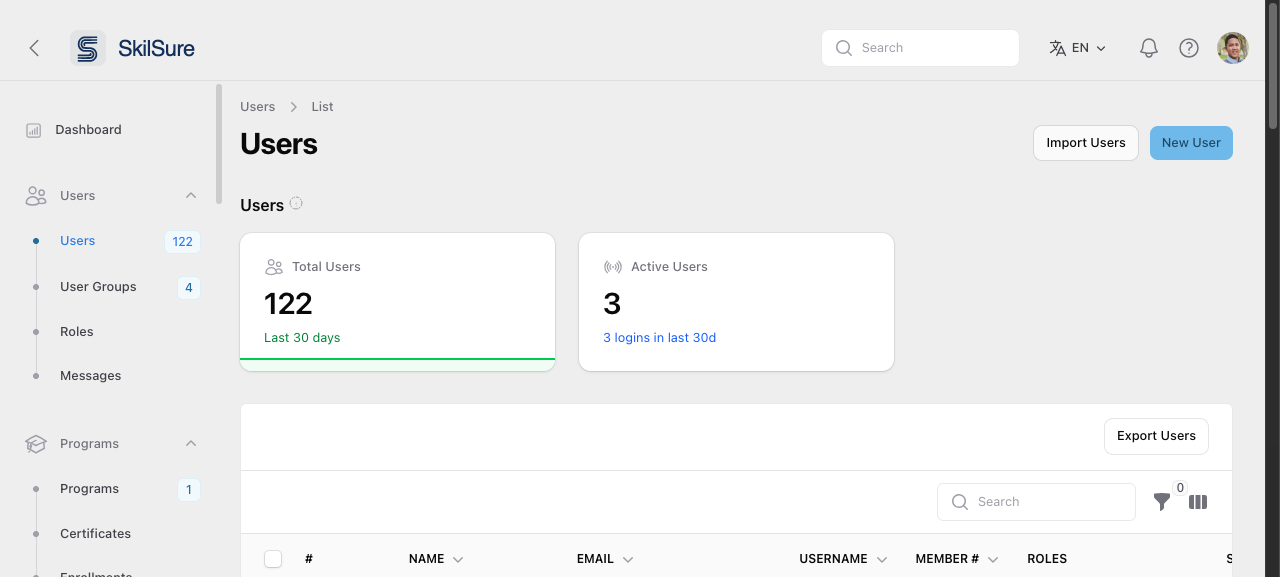 Users → Users. Use Import Users (top-right) to upload a CSV.
- Click Import Users.
- Download the example CSV file to see the expected columns, then fill it with your data.
- Upload your CSV. The importer matches columns to user fields automatically when your headers match the example.
- Set the import options — the default password for new users, an optional portal and role to auto-assign, and whether to send a welcome email.
- Start the import. When it finishes you'll see how many rows imported and how many failed; download the failed rows to see the reason for each.
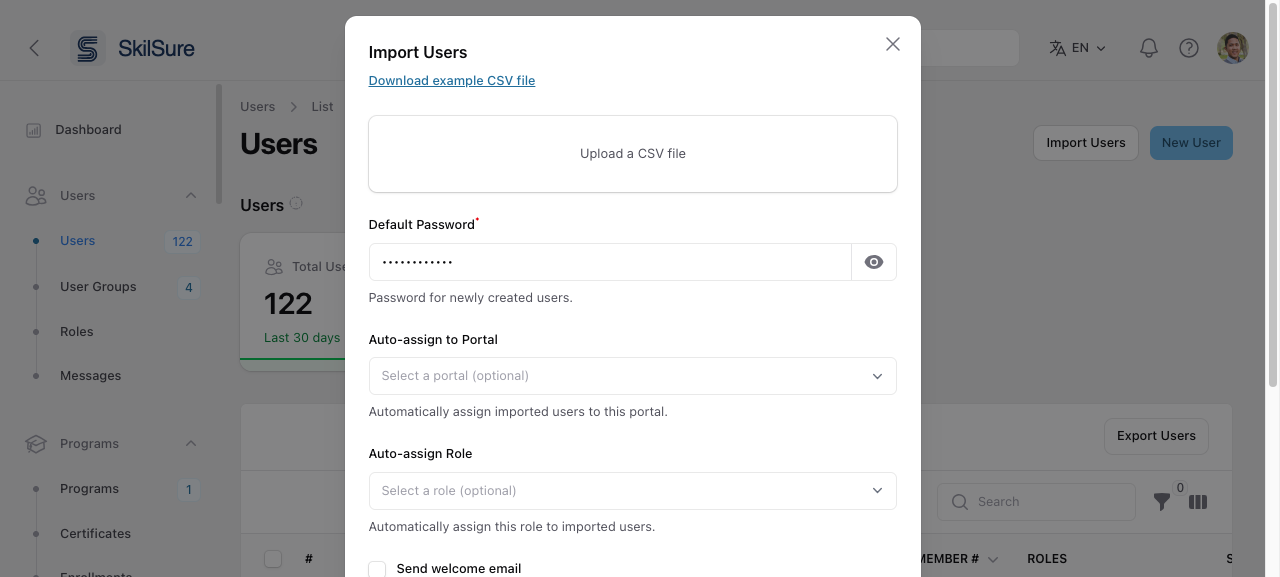 The Import Users dialog. Download the example file for the expected columns, then upload your CSV and set the options.
Existing users are matched by their unique identifier (member number by default) and updated rather than duplicated; a new identifier creates a new user.
Assign users to a group during import
Add a group column to your CSV to place each user in a user group as they import — useful when different users belong to different groups in a single upload.
A group cell accepts either a group name or a path to a nested group, with levels separated by >:
csv
first_name,last_name,email,member_number,group
Jane,Doe,jane@example.com,MEM-001,Audit
John,Smith,john@example.com,MEM-002,Audit > Tax
Priya,Patel,priya@example.com,MEM-003,
How each value is resolved:
- A name that matches an existing group assigns the user to it. Matching ignores case and looks at top-level groups — use a path to reach a nested group.
- A path like
Audit > Taxassigns the user to the named child group under that parent. The parent must already exist. - A name or leaf that doesn't exist yet is created automatically — a bare name becomes a new top-level group; the last segment of a path becomes a new group under its (existing) parent.
- A blank cell is ignored — the user imports with no group change.
The group is added to the user — it never removes groups they already belong to, and it stacks on top of the "auto-assign to user group" import option if you set one.
Rows that fail on the group column
A row fails — and is listed in the failed-rows summary, while the rest of the import continues — when its group value:
- matches more than one group — the name is ambiguous; use a
Parent > Childpath to point at the right one; - names a parent that doesn't exist — parents are never created automatically, only the final group in a path;
- names a default group — Admins, System Admins, and Members can't be assigned through import.
Delete users
You need an administrator account that has permission to delete users.
- Click your account icon in the top-right corner, then choose Admin & Reports.
- In the left menu, click Users.
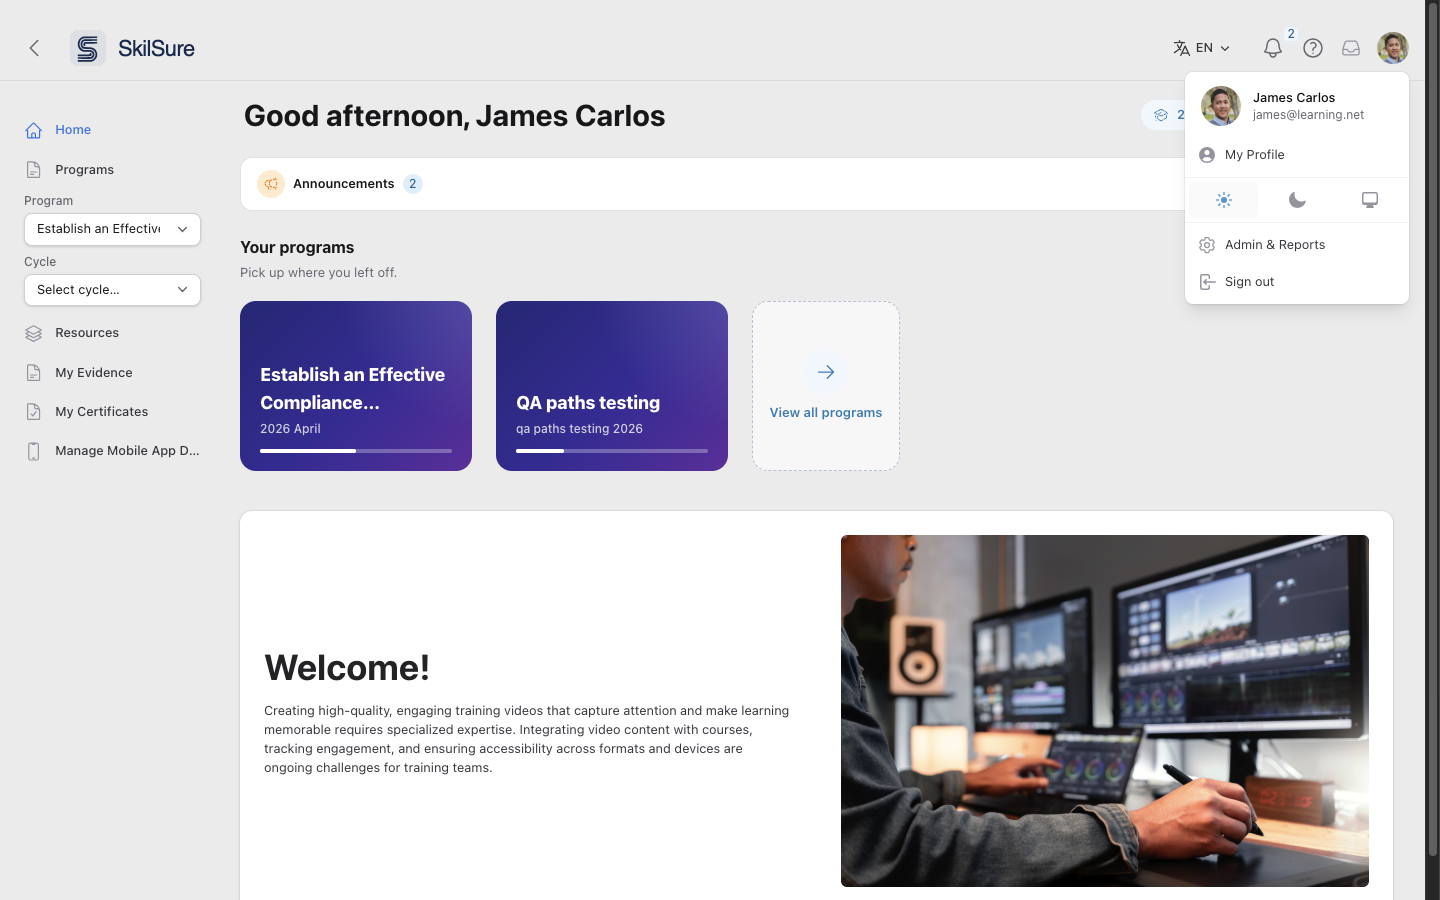 Your account menu. Admin & Reports opens the admin area.
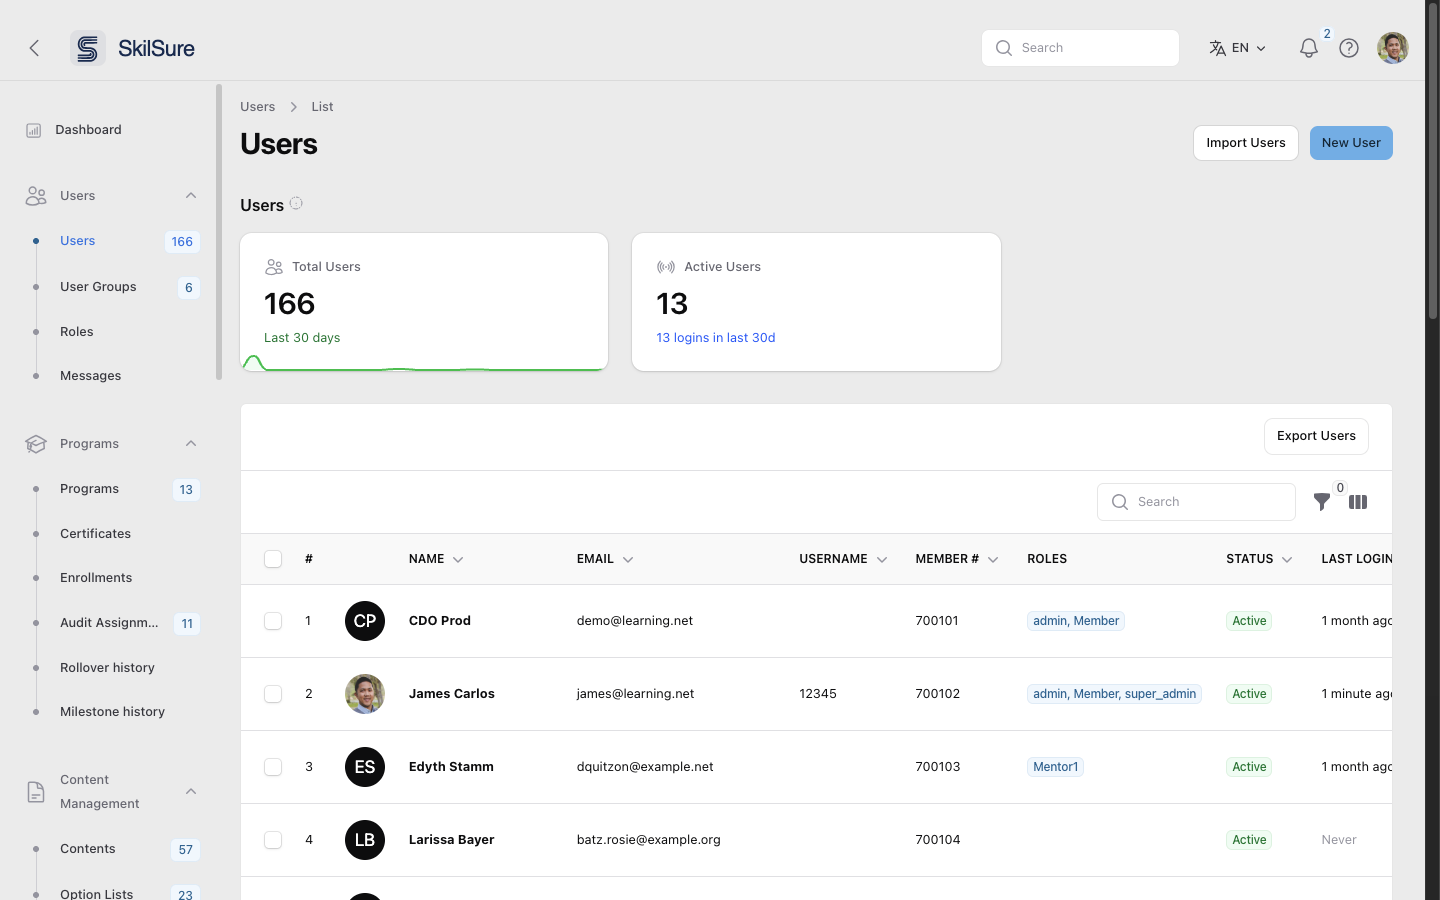 Users → Users. You can delete users one at a time or several at once.
Delete one user
- Find the user in the list. Use the search box to narrow it down.
- Click the ⋮ (three dots) at the right end of the user's row, then choose Delete.
- In the confirmation box, click Delete.
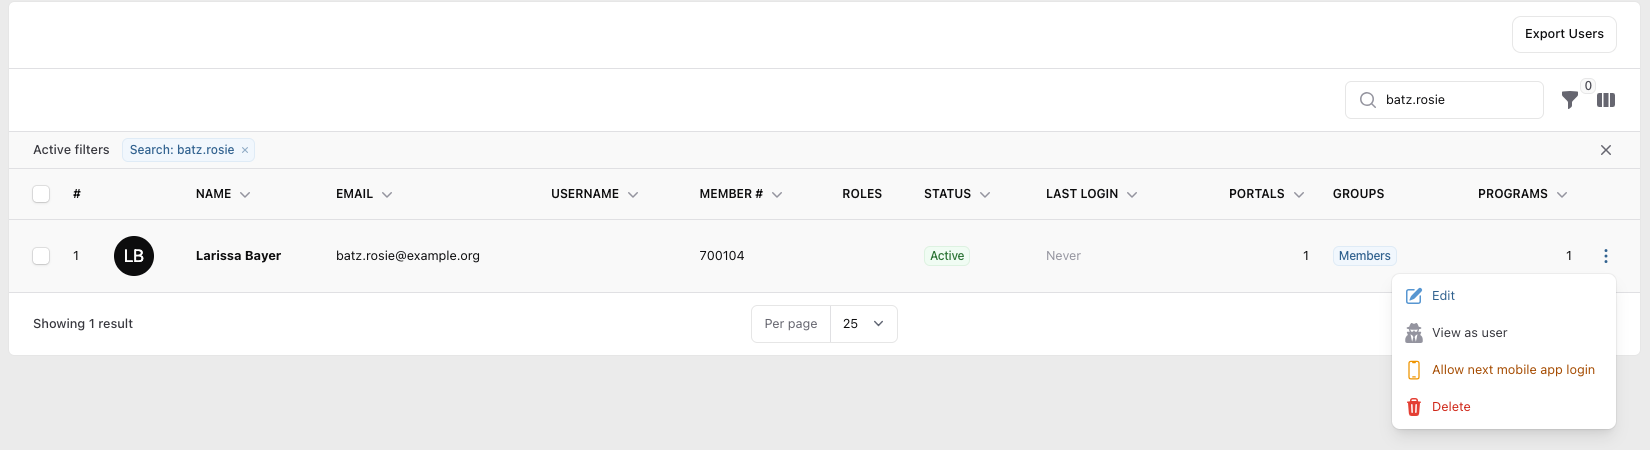 The row's ⋮ menu. Delete is the last item.
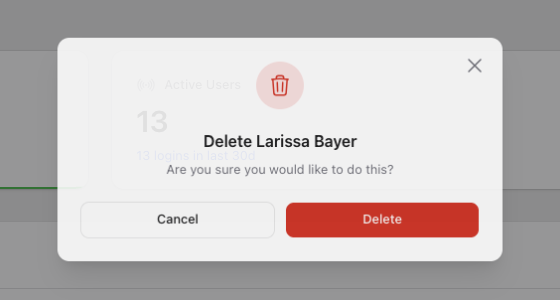 Click Delete to confirm, or Cancel to keep the user.
Delete several users at once
- Tick the box at the left of each user you want to delete.
- Above the list, click Bulk actions, then choose Delete selected.
- In the confirmation box, click Delete.
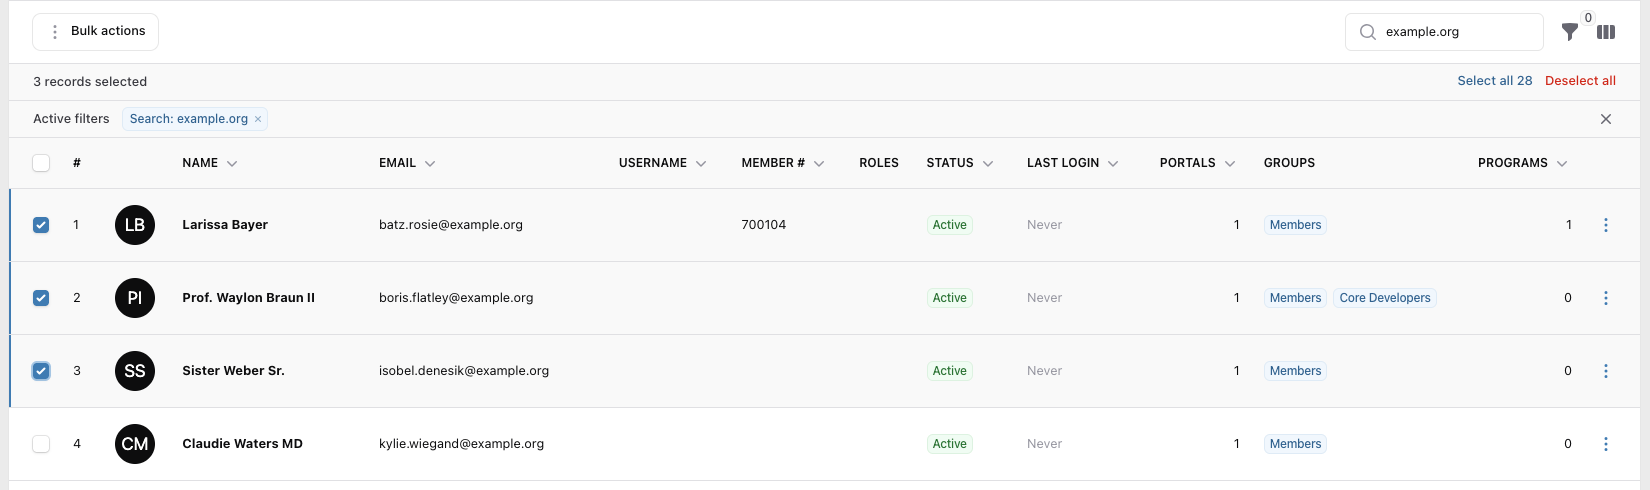 Tick each user to delete. Bulk actions appears once at least one user is selected.
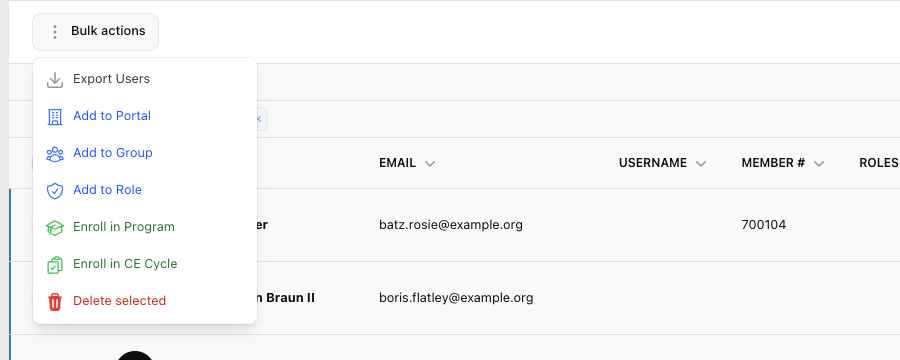 Bulk actions → Delete selected.
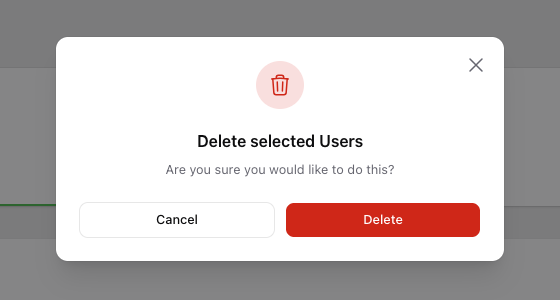 Click Delete to delete every selected user.
Deleted users can be restored
Deleting a user hides their account and stops them signing in, but SkilSure keeps a copy of the account and its data. To see deleted users, click the filter icon above the list and set Deleted records to With deleted records or Only deleted records. A deleted user's ⋮ menu then offers Restore.
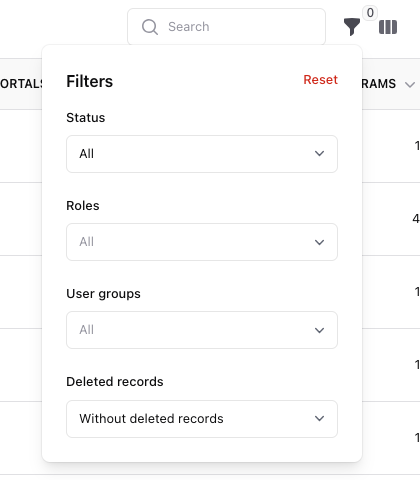 The Deleted records filter controls whether deleted users appear in the list.
Force delete is permanent
Administrators with the force-delete permission also see Force delete on a deleted user, and Force delete selected under Bulk actions. Force delete removes the account for good, and it can't be restored.